25 OCT 2024
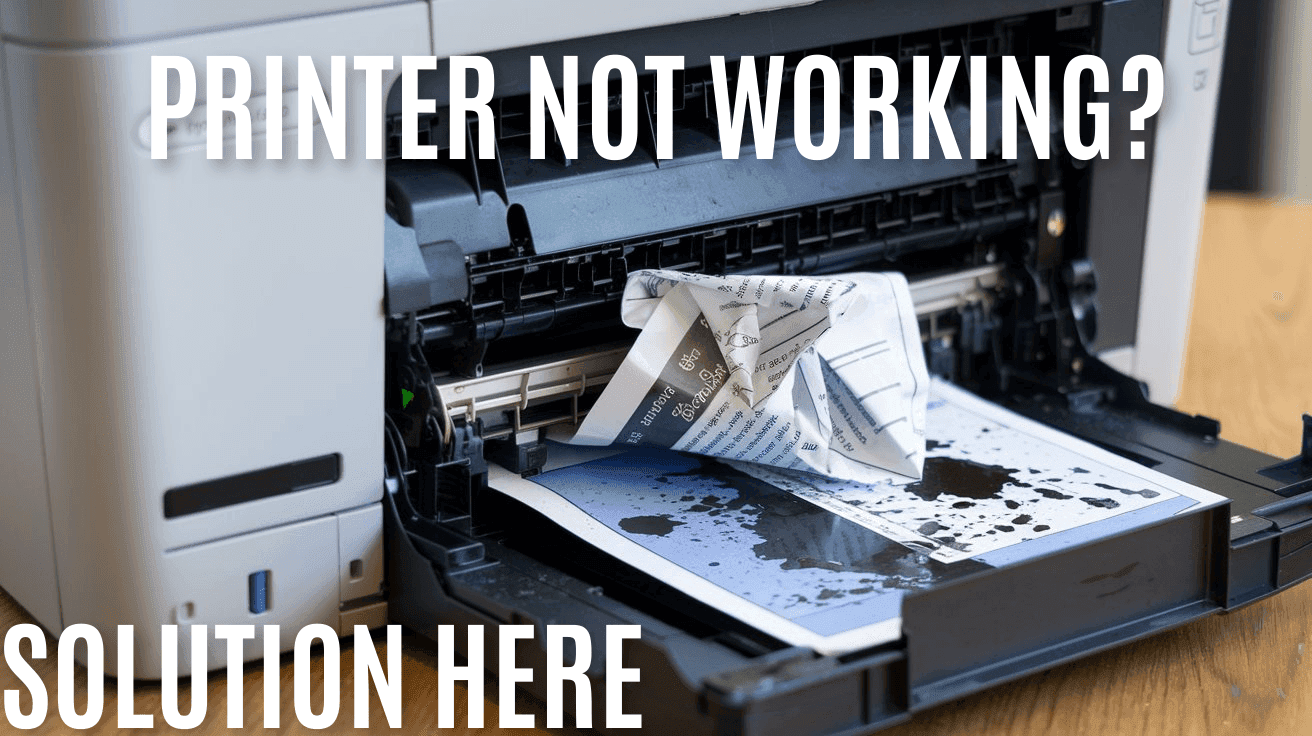
Paper is jammed in printer : How do I fix it?

@2024 ComputerFixDallas
25 OCT 2024
Paper is jammed in printer : How do I fix it?

We’ve all been there: you’re on a tight deadline, and your printer suddenly throws a tantrum with a “Paper Jam” alert. It feels like the universe is conspiring against you, but don’t panic! Paper jams are a common nuisance, and we’re here to help you reclaim control. In this guide, we’ll share essential tips to tackle the jam and prevent it from happening again. Let’s transform that frustration into confidence and get your printer back in action—smooth sailing ahead!
When faced with a paper jam in your printer, the first step is to accurately identify the location and nature of the problem. This involves a combination of visual inspection, understanding error messages, and listening for unusual noises.
1. Open all accessible doors and panels
2. Look for protruding paper edges
3. Check paper input and output trays
4. Examine the paper path for obstructions
Modern printers often display specific error codes or messages to help pinpoint the jam location:
• "Paper jam in tray 1"
• "Clear paper path"
• "Remove paper from rear tray"
Understanding these messages can save time and prevent damage to your printer.
Listen for these sounds to help locate the jam:
• Grinding or crunching: Often indicates paper stuck in rollers
• Repetitive clicking: May suggest paper misfeeding
• Sudden silence: Could mean paper has completely blocked the mechanism
By combining these identification methods, you can quickly locate the paper jam and move on to safely accessing and removing the jammed paper.
Safely Accessing Jammed Paper
Now that you've identified a paper jam in your printer, it's crucial to approach the situation carefully to avoid causing further damage. Let's explore the steps to access the jammed paper safely.
Before attempting to remove any jammed paper, always start by turning off your printer. This step is essential for several reasons:
• Prevents potential electrical hazards
• Stops moving parts that could cause injury
• Avoids further damage to the printer mechanism
Most printers have multiple access points designed for easy maintenance and paper jam removal. Common locations include:
1. Front panel
2. Rear panel
3. Paper tray area
4. Top cover
Consult your printer's manual to identify all possible access points specific to your model.
In some cases, you may need to remove the toner or ink cartridges to gain better access to the jammed paper. Follow these steps:
1. Open the main printer cover
2. Locate the cartridges
3. Carefully remove them following manufacturer instructions
4. Place cartridges on a clean, flat surface
Do's:
Don'ts:
By following these precautions, you'll minimize the risk of causing additional damage to your printer while addressing the paper jam issue.
Removing the Jammed Paper
Now that you've safely accessed the jammed paper, it's time to remove it carefully. This process requires patience and gentle handling to avoid damaging your printer.
When removing jammed paper, always pull slowly and steadily in the direction of the paper path. Avoid yanking or forcing the paper, as this can cause tearing or damage to the printer's internal components.
If the paper tears during removal, don't panic. Here's a step-by-step approach:
1. Turn off the printer and unplug it
2. Use tweezers to carefully remove visible paper fragments
3. Shine a flashlight to spot hidden pieces
4. Gently rotate rollers to expose trapped fragments
Sometimes, the printer's rollers can help with paper removal:
1. Locate the roller release lever
2. Disengage the rollers
3. Gently pull the paper while manually turning the rollers
When dealing with multiple jammed sheets, follow this process:
Step Action
1 Remove sheets one at a time
2 Start with the most accessible sheet
3 Gently tug each sheet in the direction of the paper path
4 Repeat until all sheets are removed
Remember, if you encounter significant resistance, stop and reassess the situation to avoid causing further damage to your printer.
Newsletter
Get Notified By Our Newsletter
Explore More Blogs
Explore Insights and Repair Tips Here
@2024 ComputerFixDallas